Stop Trusting Developer Final Inspections: 5 Quick DIY Checks That Could Save You Thousands
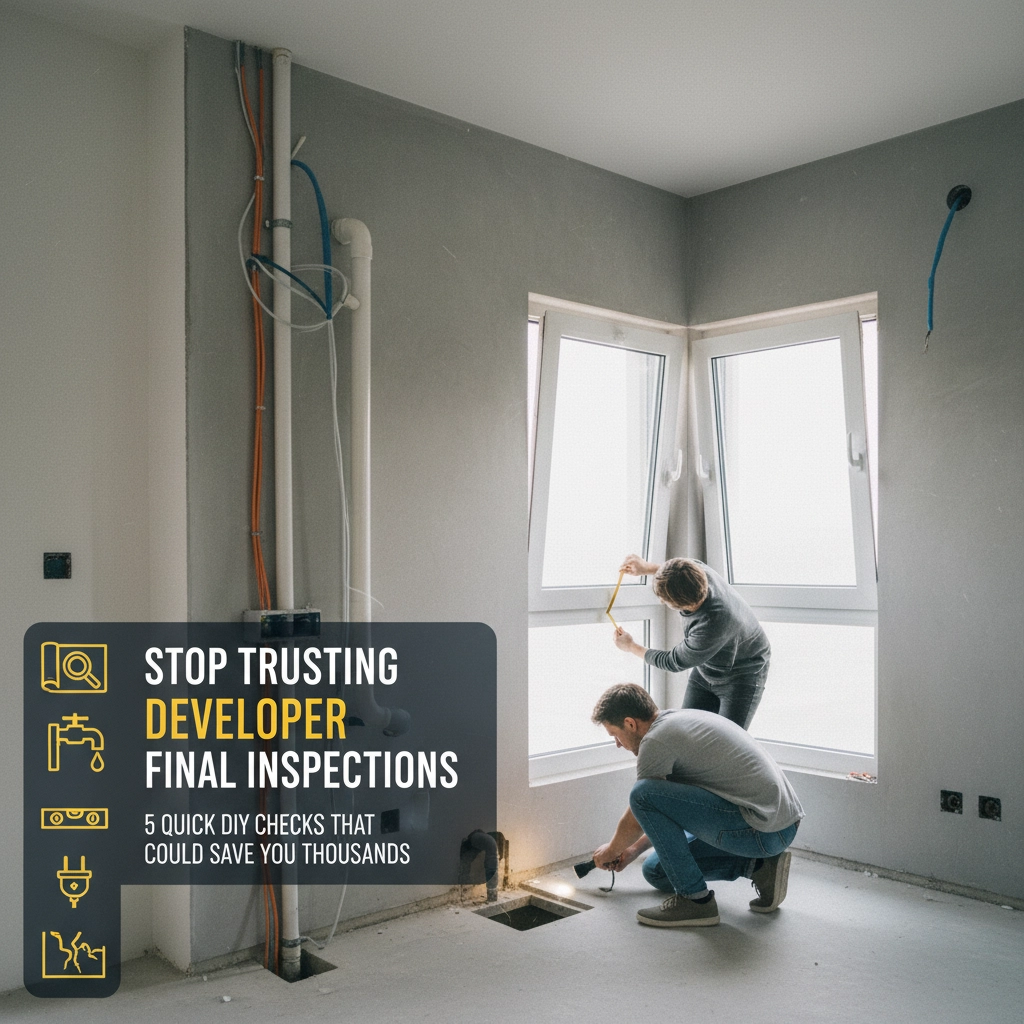
You’ve waited months for your dream home to be completed. The developer calls to schedule the final inspection, and you assume their team will catch everything before you get the keys. Here’s the uncomfortable truth: developer final inspections are designed to get you to sign off quickly, not to protect your investment.
The average new build contains 150+ defects, and most developer inspections miss the costly ones that’ll hit your wallet later. But with five simple DIY checks taking less than two hours, you can spot the expensive problems before they become your financial responsibility.
Why Developer Inspections Let You Down
Developer final inspections create an inherent conflict of interest. The inspection team either works directly for the builder or maintains ongoing relationships that depend on smooth, quick approvals. Their goal isn’t finding every defect – it’s getting your signature on completion documents.
These inspections typically focus on major safety compliance rather than quality issues that affect your long-term costs. A cracked tile might pass their checklist, but that same crack could lead to water damage costing thousands in repairs once you’ve moved in.
The inspection process is also rushed. Most final inspections allocate 30-45 minutes for an entire property, barely enough time to test basic functionality, let alone spot the subtle defects that indicate poor workmanship.
The 5 DIY Checks That Expose Hidden Problems
1. The Marble Test for Floor Defects
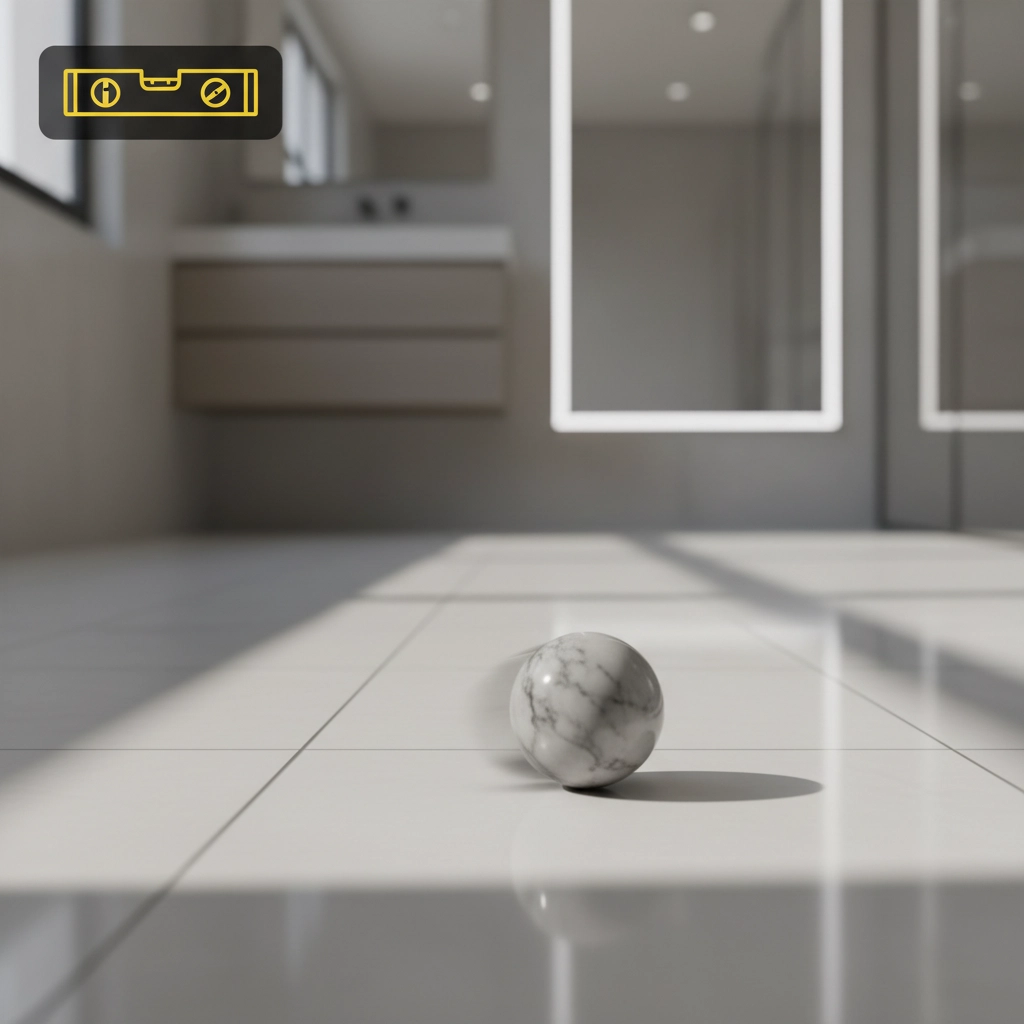
Grab a marble or ping pong ball and place it on every floor surface throughout your home. This simple test reveals leveling issues that visual inspection alone misses completely.
If the ball rolls consistently in one direction, you’ve found a slope that could cause water pooling in bathrooms, trip hazards on stairs, or indicate structural settling issues. Pay special attention to:
- Bathroom floors where improper slopes prevent drainage
- Kitchen areas around appliances
- Transition zones between different flooring materials
- Areas near external doors where water ingress is common
Uneven floors detected now remain the builder’s problem. Miss them, and you’re looking at £3,000-£8,000 in remedial work to relay flooring, fix drainage, or address structural issues.
2. Blue Tape Surface Mapping
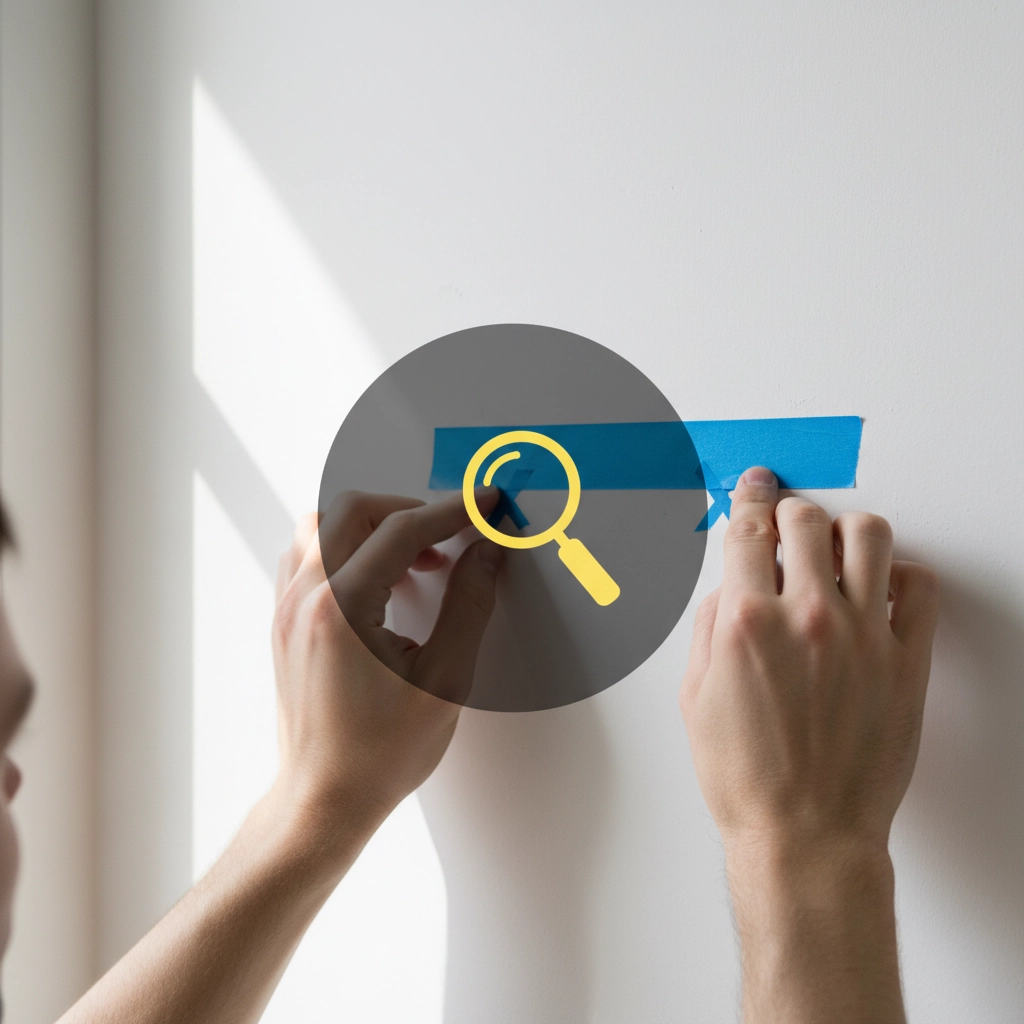
Conduct a systematic room-by-room inspection using blue painter’s tape to mark every defect you discover. This visual mapping system ensures nothing gets forgotten when discussing repairs with contractors.
Walk through each room methodically, checking:
- Wall surfaces: Cracks, stains, uneven paint coverage, poor joins at corners
- Floor finishes: Chips, hollow-sounding tiles, gaps in skirting boards
- Fixtures and fittings: Scratched cabinet doors, damaged door frames, loose handles
- Windows and doors: Alignment issues, gaps that allow draughts, damaged seals
Mark each defect with numbered tape so you can reference specific issues during repair negotiations. Take photos of each tagged defect for your records.
This systematic approach typically reveals 30-50 cosmetic defects that developer inspections routinely miss. While individually minor, fixing these after completion costs £50-£200 per issue when you’re paying contractor rates.
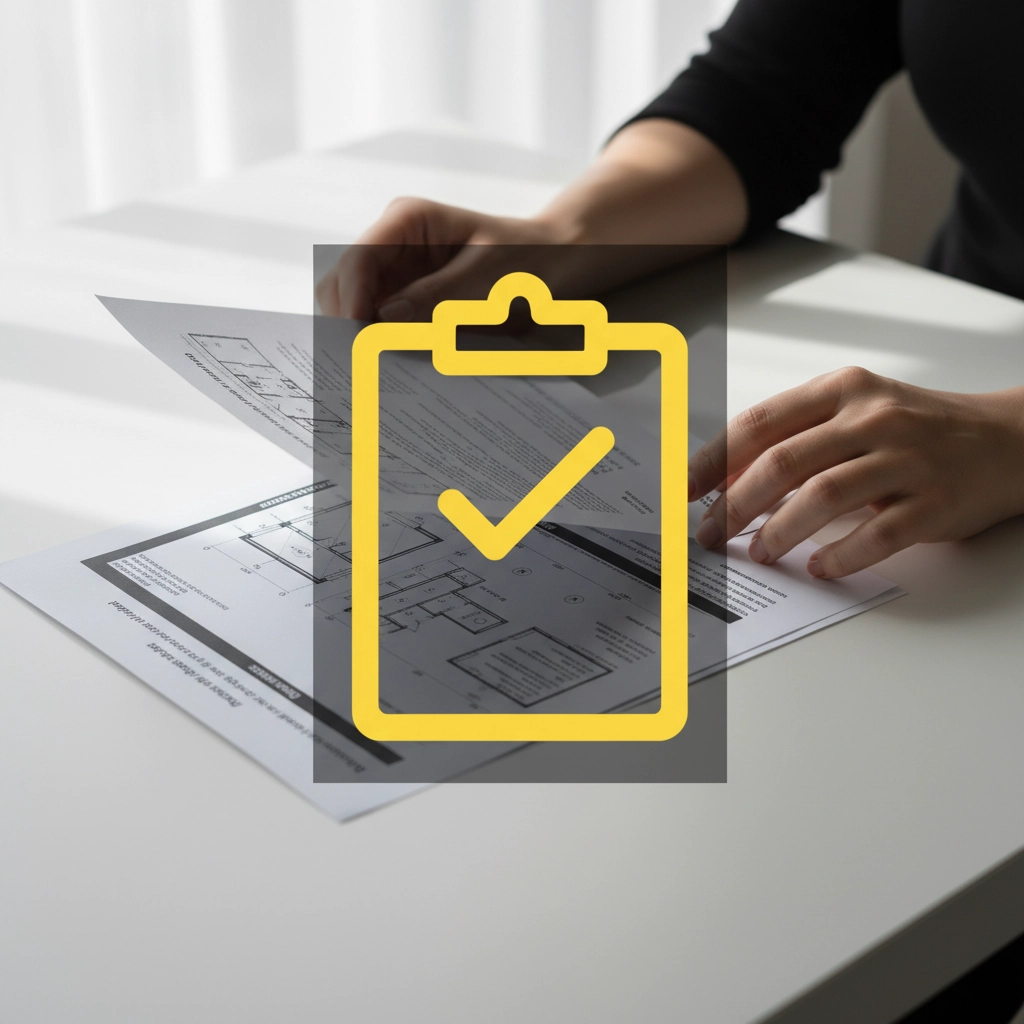
3. Contract Specification Deep Dive
Before stepping foot in your property, spend time reviewing your original contract and specifications. This paperwork comparison reveals whether you’ve received what you actually paid for.
Check that:
- All specified materials have been installed (not cheaper substitutes)
- Finishes match your selections exactly
- Room layouts align with approved plans
- All contracted extras have been completed
- Appliance brands and models match agreements
Material substitutions are surprisingly common and often represent thousands in value differences. That premium kitchen tap you selected might have been swapped for a basic model, saving the developer £200 while shortchanging your investment.
4. Functionality Testing of Every System
Developer inspections rarely test functionality thoroughly. They’ll check that lights switch on, but won’t verify that all outlets work or that water pressure is adequate throughout the property.
Your DIY functionality checks should include:
Electrical systems: Test every outlet, light switch, and circuit breaker. Check that USB outlets function and external power points work.
Plumbing: Run water at multiple taps simultaneously to check pressure. Test shower temperatures and drainage speed. Check for leaks under sinks and around toilets.
Windows and doors: Open and close everything multiple times. Check locks, handles, and weather sealing. Look for gaps that indicate poor fitting.
Heating and ventilation: Test all radiators reach proper temperatures. Check extractor fans actually extract air. Verify heating controls work in each room.
Functional issues discovered after handover become warranty claims requiring multiple contractor visits and temporary inconvenience. Catching them during your inspection means they’re fixed properly before you move in.
5. Comprehensive Documentation System
Your inspection findings mean nothing without proper documentation. Developer teams are experts at claiming defects weren’t present during handover or were caused by your occupancy.
Create a systematic record including:
- Numbered photos of each defect with date stamps
- Detailed written descriptions of problems and their locations
- Video walkthroughs highlighting major issues
- Contractor witness signatures acknowledging defect locations
Email your documented findings to the site manager before your official handover meeting. This creates an electronic trail proving issues existed at inspection time.
Professional snagging reports cost £400-£800, but this DIY documentation approach provides comparable protection for the price of painter’s tape and phone storage space.
The Financial Impact of DIY Vigilance
These five checks typically uncover £5,000-£15,000 worth of defects that developer inspections miss. The financial impact breaks down into immediate savings and long-term cost avoidance.
Immediate savings come from defects fixed at the builder’s expense rather than your own. A poorly sealed shower discovered during DIY inspection costs the developer £300 to rectify. Miss it, and the resulting water damage to floors and walls could cost £2,500 in emergency repairs plus temporary accommodation costs.
Long-term cost avoidance comes from identifying workmanship issues that worsen over time. That slightly loose kitchen unit door revealed by functionality testing indicates poor installation that’ll require complete kitchen refitting within five years. Catching it now means proper installation at no cost to you.
The documentation created during your DIY inspection also strengthens warranty claims throughout your defects liability period. Builders often claim defects resulted from homeowner damage rather than original construction issues. Your photographic evidence proves otherwise.
Professional Backup When You Need It
While these DIY checks catch the majority of expensive defects, complex properties or high-value purchases might warrant professional snagging services. Snagit Ltd provides comprehensive property inspection services when you need expert eyes on technical building systems or structural elements beyond DIY capability.
The key is understanding that developer final inspections protect the builder’s interests, not yours. Taking responsibility for your own property inspection – whether DIY or professional – ensures your investment receives the protection it deserves.
These five DIY checks transform you from a passive recipient of developer assurances into an informed advocate for your investment. The two hours spent conducting thorough inspection could save you thousands in future repair costs and provide peace of mind that your new home meets the standards you paid for.